
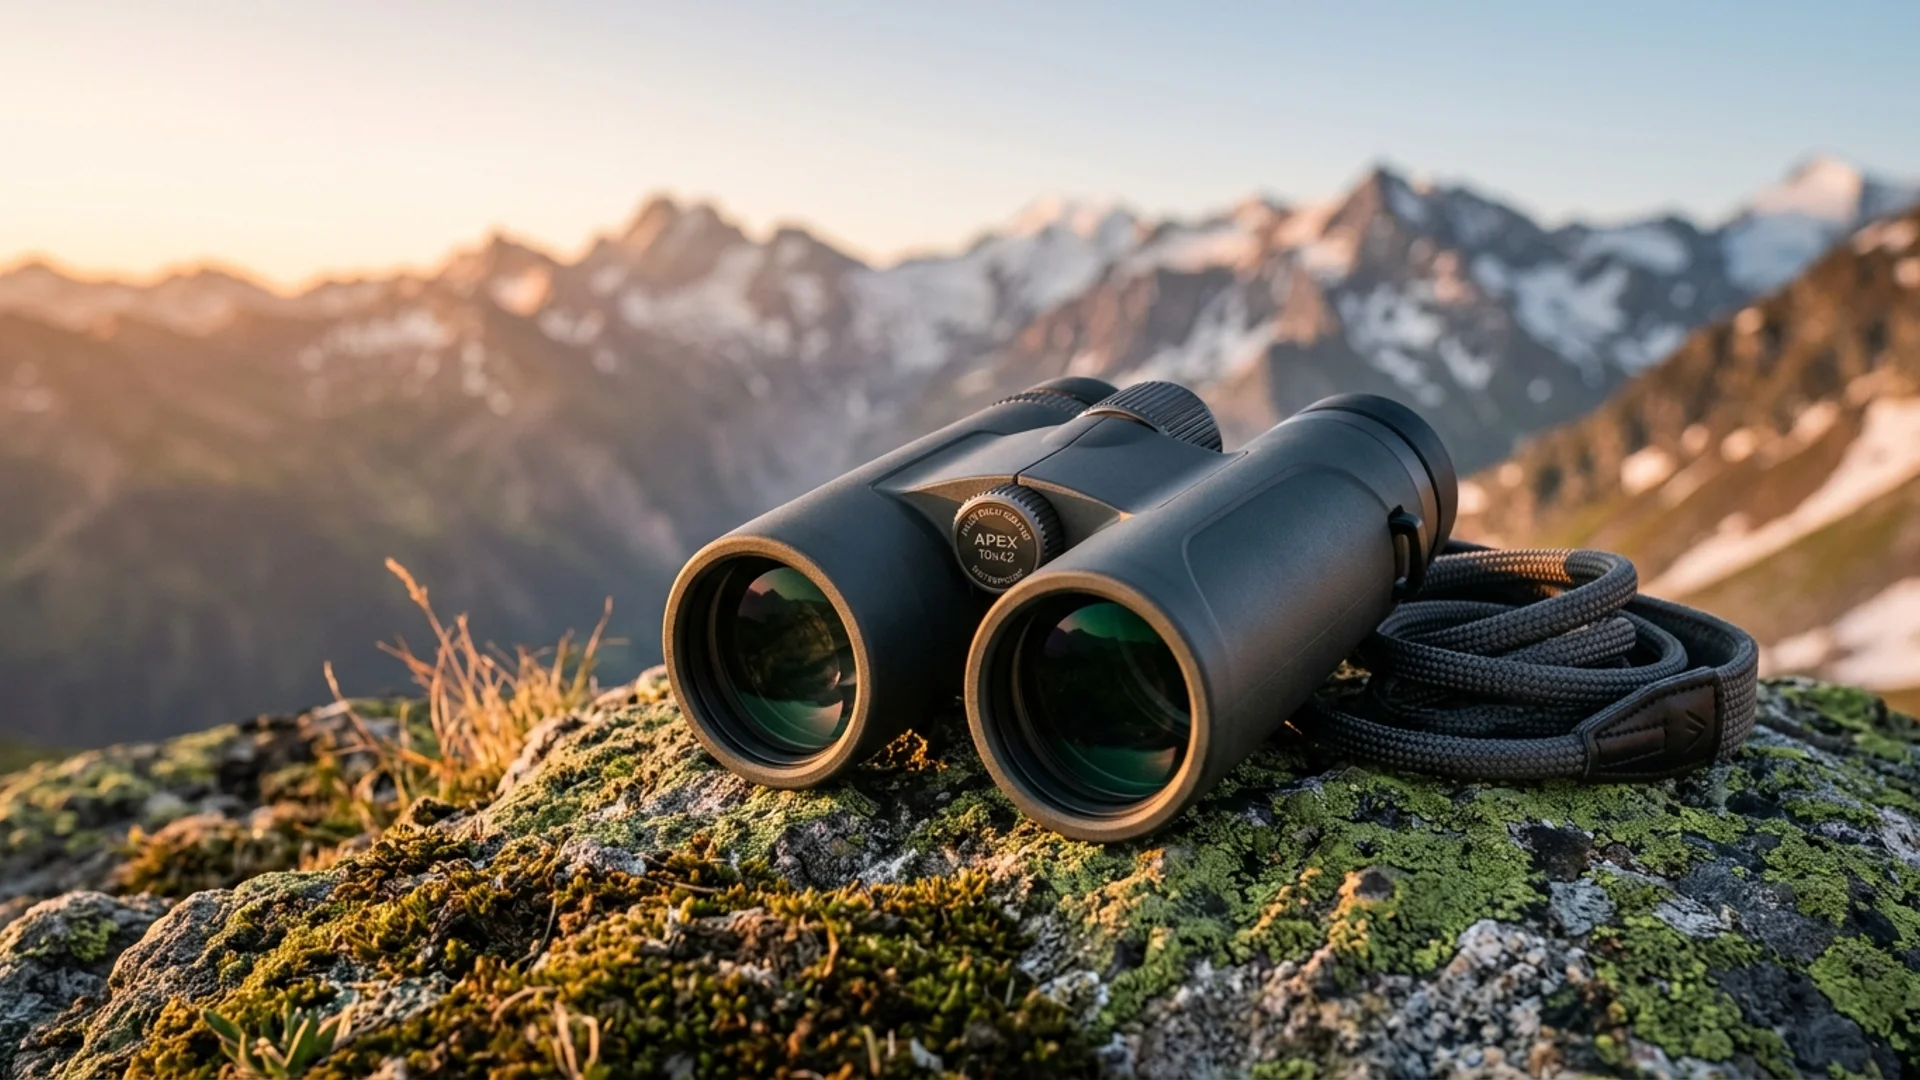
If you wear glasses, a binocular can look sharp in the middle yet feel difficult to use. You might lose the outer edge of the view, keep changing your head position, or feel tempted to press the eyepieces against your frames. Before choosing another magnification, check the fit between your glasses, eyes, and eyecups.
This guide explains how to use binoculars with glasses and how to compare that fit before buying. It offers a practical viewing checklist rather than a promise that one eye-relief number will suit every person.
Understand what eye relief measures
Eye relief is a distance, usually listed in millimeters. Nikon defines it as the distance between the outer eyepiece lens surface and the eyepoint, the position from which the whole field is visible. Glasses put additional space between your eyes and the eyepieces, making this specification particularly relevant. Nikon's explanation of eye relief
Do not confuse eye relief with exit pupil. They describe different aspects of the optical system. For this buying decision, start with whether you can comfortably see the entire image while wearing the glasses you actually use outdoors.
Nikon identifies 15 mm or longer as its high-eyepoint category for glasses wearers. Treat that as a useful screening reference, then try the instrument: your frames and viewing position still matter. Nikon's specification guide
Begin with the eyecups retracted
Eyecups help position your eyes relative to the eyepieces. For glasses wearers, ZEISS recommends turning them inward, while explaining that individual positioning can require adjustment. Models with intermediate locking positions let you experiment with the fit. ZEISS guidance on eyecups and focusing
Follow the instructions for your exact model; folding rubber eyecups and twist-up designs work differently. Start at the position intended for glasses and bring the binoculars up gently. Look for a complete circular view without needing to push hard against your frames.
If the fit is awkward, change one setting at a time. A small adjustment is easier to evaluate than simultaneously changing the eyecups, barrel spacing, and focus.
Set the distance between the eyepieces
The binoculars must also match the spacing between your eyes. Nikon's central-focus instructions explain adjusting the body until the two views combine into one circular field. This is the interpupillary-distance adjustment. Nikon's central-focus setup guide
Choose a stationary subject and settle into a comfortable stance. Adjust the hinge gently, then lower and raise the binoculars again. Can you return to the same view naturally, or do you have to search for it each time?
If another person borrows your binoculars, expect to repeat this step. Their preferred spacing is not a fault with your own setup.
Check focus without changing everything
Once the viewing position feels consistent, focus on a stationary detail. Follow the manual for your focusing system and diopter control. Do not assume that the location or operation of those controls is identical across binoculars.
ZEISS explains that diopter compensation addresses differences between the eyes and gives zero as the starting setting when glasses already provide that correction. Its guidance also tells progressive-lens wearers to use the upper distance-viewing portion of their lenses. Follow your instrument's instructions as you refine the setup.
Keep a simple record of the settings that work for you, particularly when sharing equipment. The useful outcome is a repeatable viewing position, not constant adjustment while a bird moves away.
Try a complete viewing routine before buying
Bring your normal outdoor glasses when evaluating a shortlist. If you switch between prescription glasses and sunglasses, check both combinations rather than assuming they feel identical.
Use this practical sequence:
- Set the eyecups and barrel spacing.
- Focus on a stationary object.
- Check whether you can see the outer boundary of the view.
- Lower the binoculars and raise them several times.
- Look toward a second object and refocus.
- Hold the instrument long enough to notice pressure on your frames.
Write down what happens instead of simply scoring the image as “good.” Useful notes include “full view without pressing,” “needs careful head placement,” or “comfortable with one pair of glasses only.”
Compare fit alongside the rest of your needs
After confirming the fit, compare weight, grip, focus-wheel access, and the features relevant to your outings. A convenient setup for a short garden session may feel different on a mountain walk when you repeatedly lift and lower it.
Browse binoculars with your fit checklist in hand. Our 8x versus 10x guide covers magnification separately. If you need a model's eyecup instructions or eye-relief specification, contact Expert Binocular before making assumptions from a product photograph.
Frequently Asked Questions
Should I remove my glasses to use binoculars?
You can evaluate the fit while wearing them first. This guide is about keeping your usual glasses on; check the binocular manual before changing your setup.
Is 15 mm of eye relief guaranteed to fit my glasses?
No. Nikon uses that figure as a high-eyepoint reference, but you should still check the complete view and comfort with your own frames.
Why do I see only part of the circular image?
Check eyecup position, barrel spacing, and where you hold your eyes. Adjust one factor at a time before deciding the instrument is unsuitable.
Can two people share the same settings?
They may need different barrel spacing, eyecup positions, or diopter settings. Recheck the setup when changing users.