For a first spotting-scope session, set up the tripod securely, attach the scope with compatible mounting hardware, begin at low magnification and focus on a fixed subject. Add zoom only after the subject is easy to find and the image has settled. A stable setup usually makes learning easier than immediately using the highest number on the eyepiece.
Practice the sequence before a birding trip, using the instructions for your scope, eyepiece, tripod and head. This guide describes a general workflow; release locks, mounting plates and eyepiece fittings differ. Never point a spotting scope at the sun.
Prepare the complete support system
Gather the scope body, correct eyepiece, tripod, head and mounting plate. Check the instructions for how they connect and whether the support system is rated for the complete setup. A scope-body weight excludes items that may still need support, including an eyepiece or camera adapter.
Confirm that a quick-release plate actually belongs to the head you plan to use. Similar-looking plates are not automatically compatible. Do not force a screw that does not engage correctly or assume that any plate can be made secure by tightening harder.
Celestron's tripod-versus-monopod guide explains why full-size spotting scopes benefit from three-legged support for sustained observation. A monopod can suit some lighter setups, but it does not provide the same hands-free platform for a shared viewing session.
Choose a position with room to work
Set up on firm ground where the tripod will not obstruct a path or create a trip hazard. Check for edges, unstable surfaces and people moving behind you. Extend and secure the legs according to the tripod's instructions, then assess whether the whole arrangement is stable before adding the scope.
Choose a comfortable eyepiece height for your intended seated or standing position. Avoid reaching awkwardly or resting your weight on the instrument. In a hide, leave space for other observers and allow room for the scope to pan without striking a wall or window frame.
Tripod controls vary. For example, Celestron's Photographic and Video Tripod has its own head and plate arrangement. A demonstration for that head should not be treated as instructions for a different release system.
Mount the scope while supporting its weight
Follow the head and plate instructions to attach the correct hardware securely. Keep control of the scope while engaging the release or lock, and confirm that the specified locking mechanism has seated before letting it carry the weight.
For scopes with separate eyepieces, fit the correct eyepiece using that model's procedure. Different product families can use different attachment systems. Nikon provides the PROSTAFF 5 Fieldscope manual and an instruction PDF for its system; use the manual matching the equipment in front of you.
Check the mounting again before adjusting a movable collar or changing viewing orientation. Support the instrument whenever a required adjustment could release it. If a part's function is unclear, identify it in the manual before loosening it.
Find a fixed target at low power
Begin with an obvious stationary feature at a suitable distance, such as a sign, a distinctive branch or a building detail away from the sun. Set the zoom to its low end, aim the scope and adjust the head until you can find the feature comfortably.
Focus slowly while watching a small detail. Set the eyecup according to the eyepiece instructions and your use of glasses. If the view repeatedly blacks out as your head moves, reassess eye position and eyecup placement before turning the focus control through its whole range.
Once the image is clear, make a modest zoom change and refocus as needed. Keep the subject centered while you learn how the field changes. If higher magnification produces an unhelpful view, reduce it and reassess stability and conditions rather than assuming the highest setting must be the best one.
Separate the symptoms before changing equipment
What you observe
What to check first
The whole view shakes after touching a control
Tripod position, locks and how firmly you are touching the setup
A subject is hard to find
Return to lower magnification and use a clear landmark
The image blacks out with small head movements
Eyecup position, glasses and alignment with the eyepiece
A plate or scope shifts under normal handling
Stop viewing and correct the mounting before continuing
A sharp image remains difficult at high power
Reduce zoom and reassess focus, movement and viewing conditions
This table helps organize an inspection; it cannot diagnose a damaged optic. Stop using a support arrangement that moves unexpectedly. If correct setup does not resolve the problem, ask the manufacturer or a qualified dealer for help.
Transfer the routine to birdwatching
Locate the bird or its perch with unaided eyes or binoculars first. Use a landmark to direct the scope, then begin at low power again. If the bird moves out of view, reduce zoom and reacquire it rather than sweeping a narrow field randomly.
For shared viewing, focus on a clear subject and let the next person approach without grabbing the scope. Explain where the eyepiece is and which control they may need. Each viewer may need a different eye position or focus adjustment.
The American Birding Association's ethics guidance belongs alongside the equipment routine. Keep observation considerate, avoid disturbing birds and respect other people and access rules. A longer view through a scope is a reason to observe from an appropriate distance, not to crowd a nest or sensitive bird.
Frequently asked questions
Should I start at maximum zoom?
Start low so the subject is easier to locate, then increase magnification only when the resulting view helps. Refocus as needed.
Will any quick-release plate fit my tripod head?
No. Confirm compatibility and the prescribed locking procedure for the particular head and plate.
Does the scope's body weight describe the complete load?
Not necessarily. Include the eyepiece, adapters and any other attached equipment when checking the support system's requirements.
Why does the view disappear when I move slightly?
Check eye placement and the eyecup setting, especially with glasses. Focus alone may not resolve an alignment problem.
Can everyone share the same focus setting?
Not always. Viewers may need small adjustments for their vision and eye position. Keep the scope securely mounted during the handover.
Should I carry the whole setup while it is assembled?
Follow the scope and tripod manufacturers' transport instructions. Do not assume a quick-release system is approved for carrying the scope attached.
Choose equipment as a working system
If you are considering the Nikon PROSTAFF 5 20–60x82 angled scope at Expert Binocular, confirm the eyepiece, mounting components and any tripod included in the exact offer. Ask for a setup demonstration so you can learn the locks and controls before taking the equipment into the field.
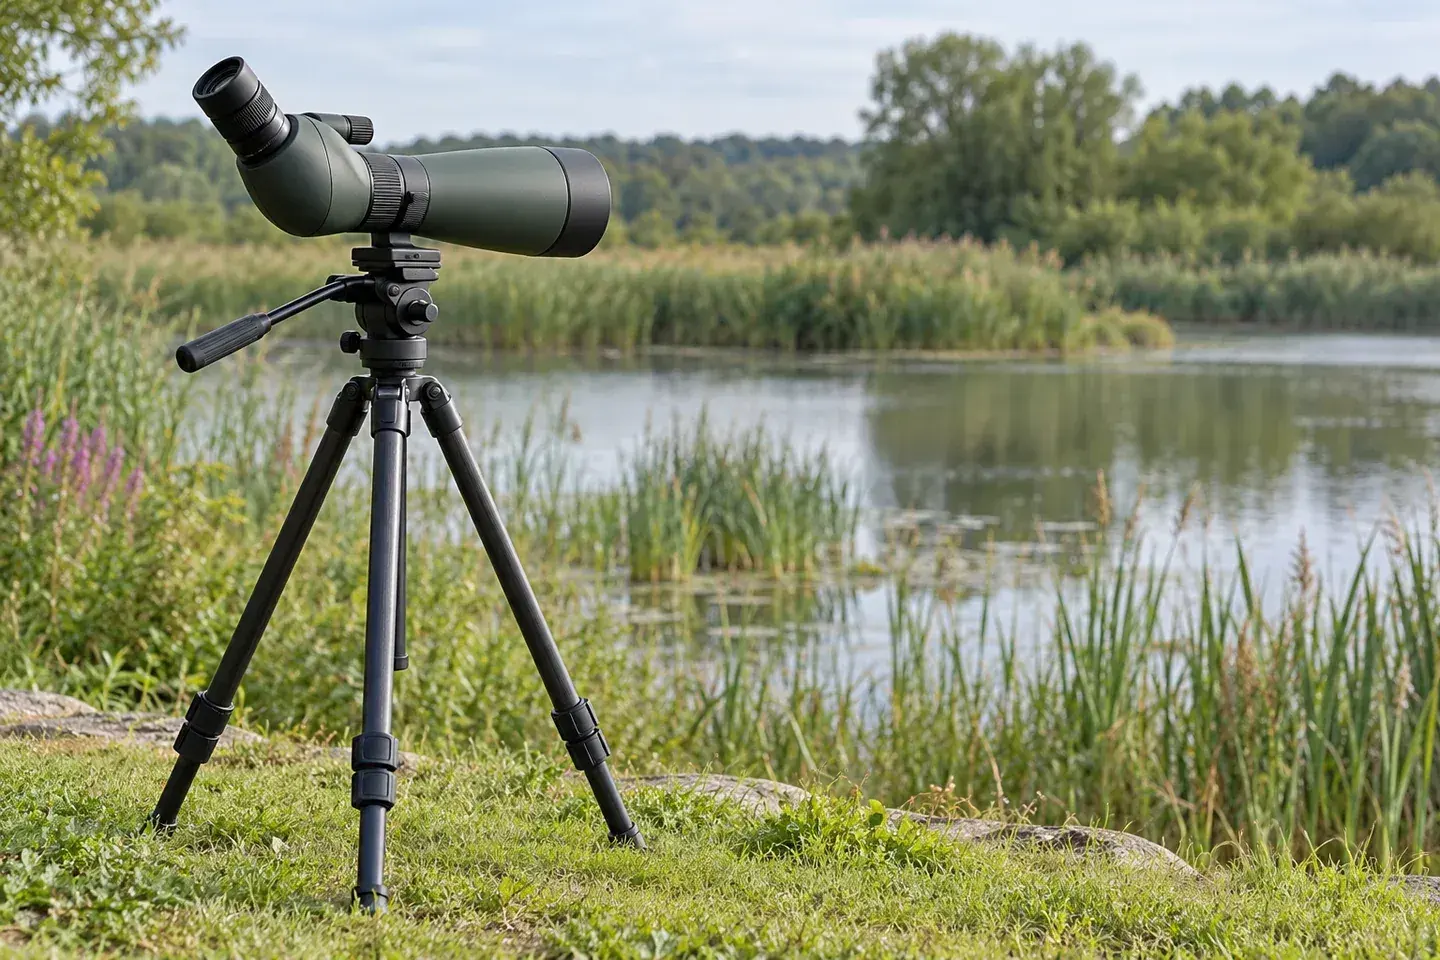
AI-generated editorial illustration: a generic scope and tripod at a pond, not a photograph of a Nikon product or a field test.