Stargazing With Binoculars: A First Night Checklist
Expert Binocular Team
November 5, 2026
5 min read
You do not need a complex setup to spend an evening learning the night sky. Binoculars can help you explore the Moon and star patterns while keeping the experience portable. Start with the equipment you already have, choose a safe viewing place and give yourself time to look. A clear view depends on weather, local lighting, the instrument and the observer, so treat each session as an opportunity to learn rather than a guaranteed sighting.
Never look at the Sun through binoculars or point them toward it. Serious eye injury can occur. Store the instrument safely when daylight returns and supervise children using optical equipment.
Plan a comfortable first session
Check the forecast and pick a place where you are allowed to be after dark. Look for a stable, level surface away from traffic and obvious trip hazards. Tell someone where you are going, bring appropriate clothing and a charged phone, and follow local rules. A familiar backyard can be a practical first location; a darker site may make faint objects easier to see, but do not sacrifice safety to reach it.
Use a sky chart or astronomy app to identify what should be above your horizon at your location and time. A chart helps turn a large sky into a manageable plan: choose one or two easy targets and locate them without binoculars first. Nikon's stargazing guide recommends finding the stars you want to observe before bringing binoculars to your eyes.
Allow your eyes time to adjust to darkness. If you need a light, keep it dim and directed toward the ground or chart. Respect other observers by avoiding bright lights and phone screens in their direction. Weather, haze and nearby lighting can change what is visible from one night to another.
Pick binoculars you can hold comfortably
Begin with a pair that fits your hands and face. The numbers on binoculars describe magnification and objective lens diameter: in an 8x42 label, for example, 8x is the stated magnification and 42 mm is the objective diameter. The explains how magnification, field of view and other specifications affect a choice.
Higher magnification also makes hand movement more noticeable. A comfortable pair with a useful field of view can make it easier to find and follow a target. Larger instruments may collect more light but can be heavier to support; compare the actual specifications and weight before choosing. There is no single size that suits every observer.
If you already have binoculars, try them before buying accessories. Check the neck strap and case, and follow the maker's instructions for the eyecups and focus. For a longer session, a compatible support can reduce the effort of holding the instrument. Our tripod adapter checklist explains what to check before attaching one.
Adjust the view before exploring
In a safe direction away from the Sun, adjust the hinge so the two circular fields merge into one comfortable view. Set the eyecups for your eyes or glasses as described in your manual. Focus on a distant object and make any diopter adjustment according to the specific binocular's instructions. Different models use different controls.
At night, find a bright, identifiable target with your unaided eyes. Keep looking at it while raising the binoculars to your face. Move slowly rather than sweeping quickly across the sky. Rest your elbows against your body or a stable support if it is comfortable, and take breaks whenever your arms or eyes tire.
Use a strap securely and watch your footing when looking upward. If the view remains uncomfortable or shows persistent double images after normal adjustment, stop and consult the manufacturer or a qualified service provider. Avoid attempting internal optical adjustments yourself.
Start with the Moon and broad patterns
The Moon is an accessible target when it is above your horizon and the sky is clear. Its apparent features change with its phase and viewing conditions. Celestron's guide to observing the Moon describes how binoculars can reveal lunar features and recommends using a Moon chart to identify them.
Try comparing the view along the boundary between the lit and unlit portions with a chart. Then lower the binoculars and locate a recognizable star pattern with your eyes. Return to the binocular view and explore a small section at a time. A star chart can help you identify a cluster, but its appearance will vary with local conditions and equipment.
Avoid promising yourself a particular level of detail or a specific object on the first night. Instead, note the date, approximate location, sky conditions and what you could identify. A simple observing log makes the next outing easier to plan.
Pack and care for your equipment
Keep caps and a case nearby. If dew forms, follow the manufacturer's cleaning and drying guidance rather than rubbing optical surfaces with clothing. Let equipment dry appropriately before long-term storage, and avoid leaving it on damp ground. Pack out everything you brought and check the area for small accessories before leaving.
Frequently asked questions
Can beginners use ordinary binoculars for astronomy?
Yes. A suitable pair can introduce the Moon and star patterns without a complicated setup. What you see depends on your binoculars and observing conditions.
Do I need a tripod?
Not necessarily. A tripod or other stable support can help with heavier binoculars or longer viewing sessions if the equipment is compatible.
Is it safe to view the Sun through binoculars?
Never look at the Sun through binoculars. Use the instrument only in safe directions, and follow the manufacturer's safety instructions.
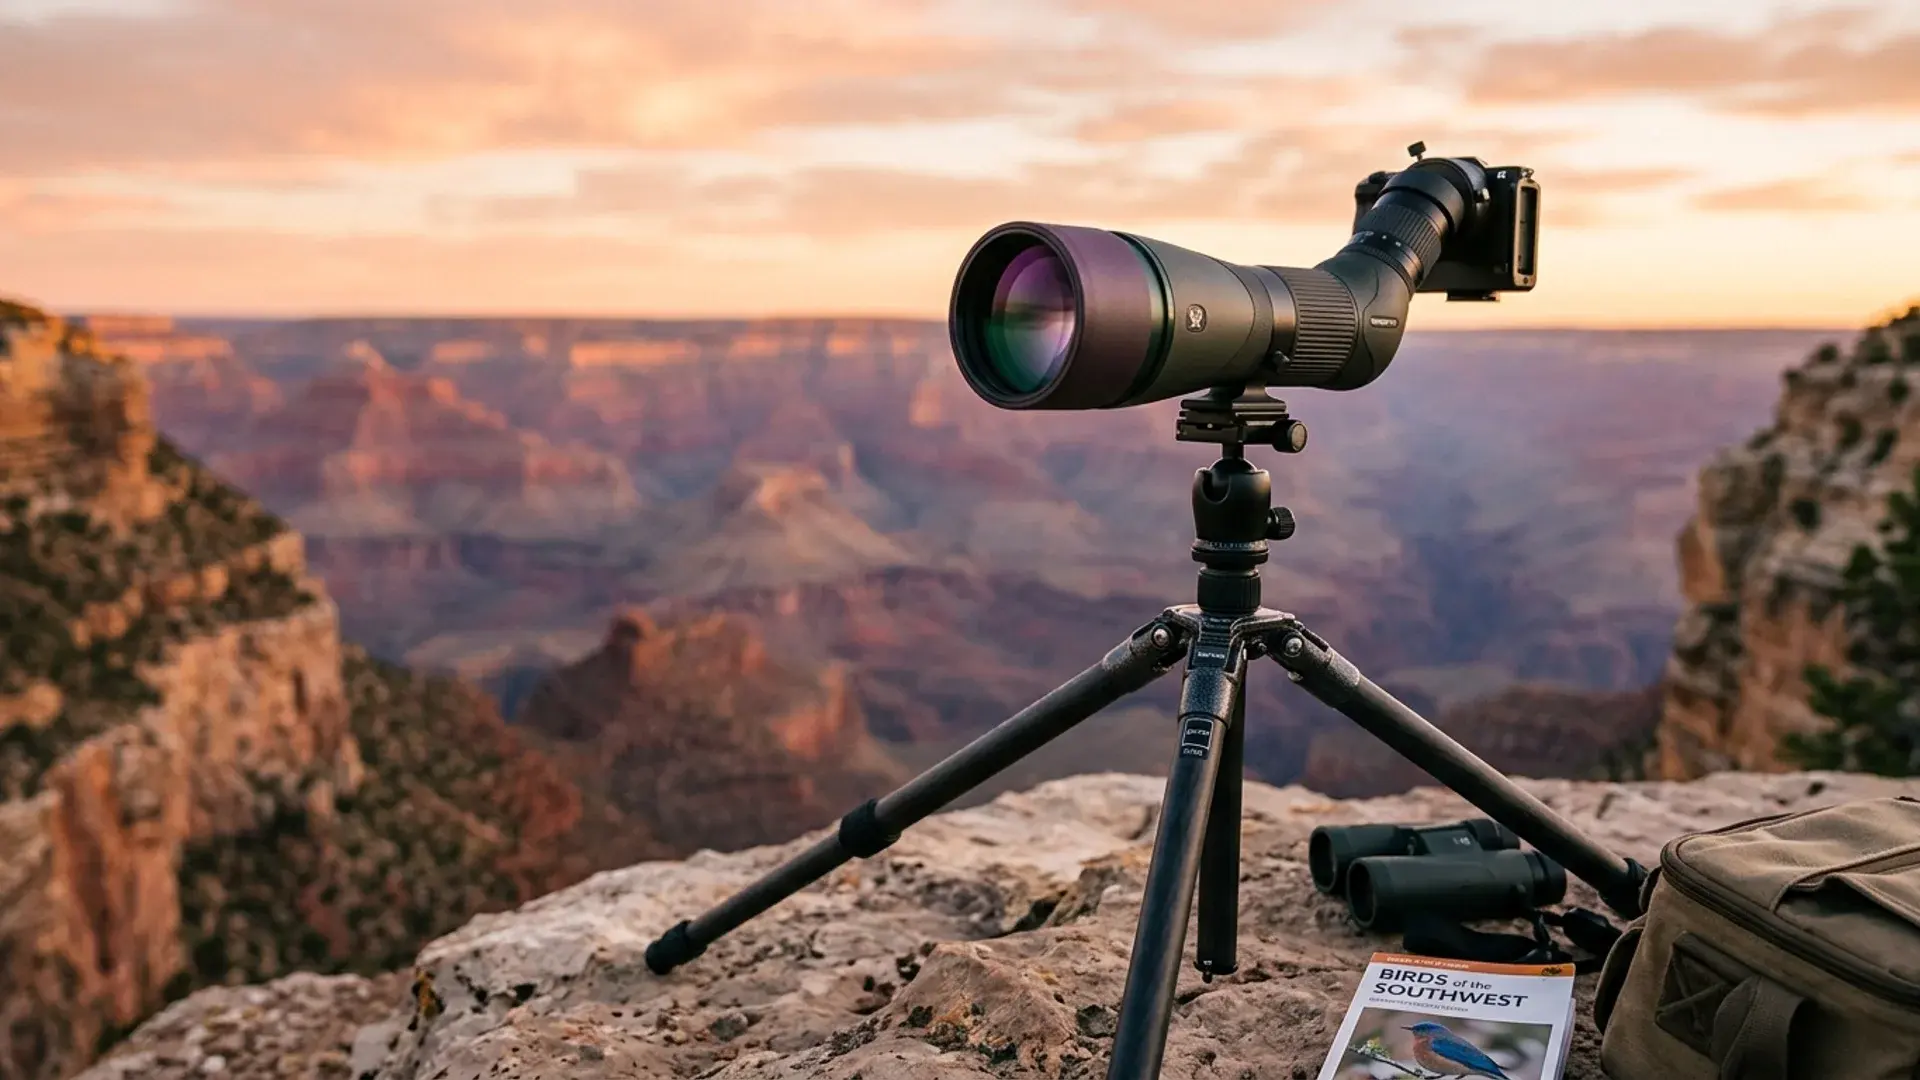
The cover is an AI-generated editorial illustration, not a product photograph.