Binocular Tripod Adapters: A Compatibility Checklist
Expert Binocular Team
November 2, 2026
5 min read
Holding binoculars steady can become tiring during a long observation session. A suitable tripod and adapter can support the binoculars while you view a landscape, watch a feeder or take turns with another person. Before buying an adapter, check how your particular binoculars attach and whether the complete setup fits the tripod and head you already own.
There is no single mounting arrangement for every binocular. This guide helps you identify the questions to ask; the instructions for your exact binocular, adapter and tripod take precedence. Never point binoculars at the sun without correctly fitted solar filters specifically intended for that use.
Find out whether the binoculars can be tripod mounted
Start with the binocular manual or the manufacturer's product page. Look for a tripod socket, an adapter socket or a specific accessory recommendation. Some binoculars have a threaded socket at the front of the central hinge, often covered by a cap. Others use a different mounting arrangement or may need a manufacturer-specific accessory.
Celestron's tripod and monopod guide explains that many of its binoculars have a mounting socket at the central hinge, while some larger models use an integrated mounting rod. These are examples, not proof that every binocular has the same connection. Identify your model and read its instructions before removing any cover.
Do not force a cap or probe an opening. The correct method for accessing a socket varies, and an apparently similar part may not be removable. If the instructions are missing, ask the manufacturer or a qualified dealer for the model-specific procedure.
Match the adapter to the binocular socket
If your binocular has a threaded socket, verify the thread size and the adapter's compatible connection. Celestron describes a 1/4-20 socket on many of its binoculars, but confirms different mounting arrangements for some large models. A thread size that looks close is not sufficient; the maker's specification should confirm the fit.
Also check clearance around the hinge. Roof-prism binoculars can be narrow between the barrels, and an adapter that fits the thread may still interfere with the barrels or prevent adjustment to your eye spacing. Compare the adapter dimensions with the available space and check its documented compatibility. Avoid overtightening: follow the maker's instructions and do not use tools unless directed.
Some non-threaded binoculars may use a cradle or strap-style mount. Verify that the accessory maker explicitly supports your binocular's shape and weight, and that it does not press on focusing controls, optical surfaces or movable parts. If compatibility is uncertain, seek advice rather than modifying the binocular.
Check the tripod head and mounting plate
The adapter must attach securely to the tripod head or quick-release plate as well as to the binocular. Check both ends of the connection: the binocular-side socket and the tripod-side screw or plate are separate interfaces. Celestron's binocular tripod adapter is one example of an accessory designed to connect binoculars to a tripod; always confirm the details for the exact adapter and head in use.
If your tripod has a removable plate, make sure the plate seats and locks correctly in its head. Verify the screw length and any supplied spacers in the manuals. A screw that bottoms out before clamping the adapter can leave the setup loose; forcing an incompatible screw can damage the threads. Support the binocular while attaching or releasing any plate.
Check the combined weight of binocular, adapter, plate and any other accessory against the ratings for the tripod and head. Ratings and balance requirements differ. A head that can hold the combined weight without slipping is useful, but a quoted capacity alone does not guarantee comfortable balance at every angle.
Set up for stability and comfort
Open and lock the tripod legs as instructed, using a firm, level surface where possible. Keep legs clear of paths and avoid unstable edges. Attach the equipment with the head locked and one hand supporting the binocular until all connections are secure. Test the head's movement slowly and keep a hand on the setup while checking balance.
Adjust the eyepiece spacing and focus for the viewer. For longer sessions, arrange the tripod height and viewing position so you do not need to stretch or twist awkwardly. A conventional straight-through binocular can be uncomfortable when aimed high overhead; consider whether a different support or viewing position is better for your intended use.
Wind and uneven ground can affect stability. Do not hang extra weight unless the tripod maker permits it, and never leave an expensive optic unattended on a support that could tip. Follow the equipment's instructions for cleaning and storage after use.
Before ordering, make a short record
Write down the binocular model, socket location and thread specification, the adapter model, the tripod head or plate type, and the combined equipment weight. Confirm any clearance requirements with the accessory maker. If you plan to share the setup, consider the adjustments needed for different viewers and how quickly the head can be repositioned.
For a related support choice, see our spotting scope tripod setup guide. Spotting scopes and binoculars may attach differently, so do not assume the same plate or balance position will work for both.
Frequently asked questions
Do all binoculars have a tripod thread?
No. Mounting designs differ. Check the exact binocular model and its manual before choosing an adapter.
Is a 1/4-20 thread universal?
It is common on photographic equipment and many Celestron binoculars, but it is not a substitute for checking both ends of your own setup.
Can I attach binoculars to a tripod without an adapter?
Some models have an integrated mounting arrangement; others require a compatible adapter. Follow the manufacturer's instructions for the particular model.
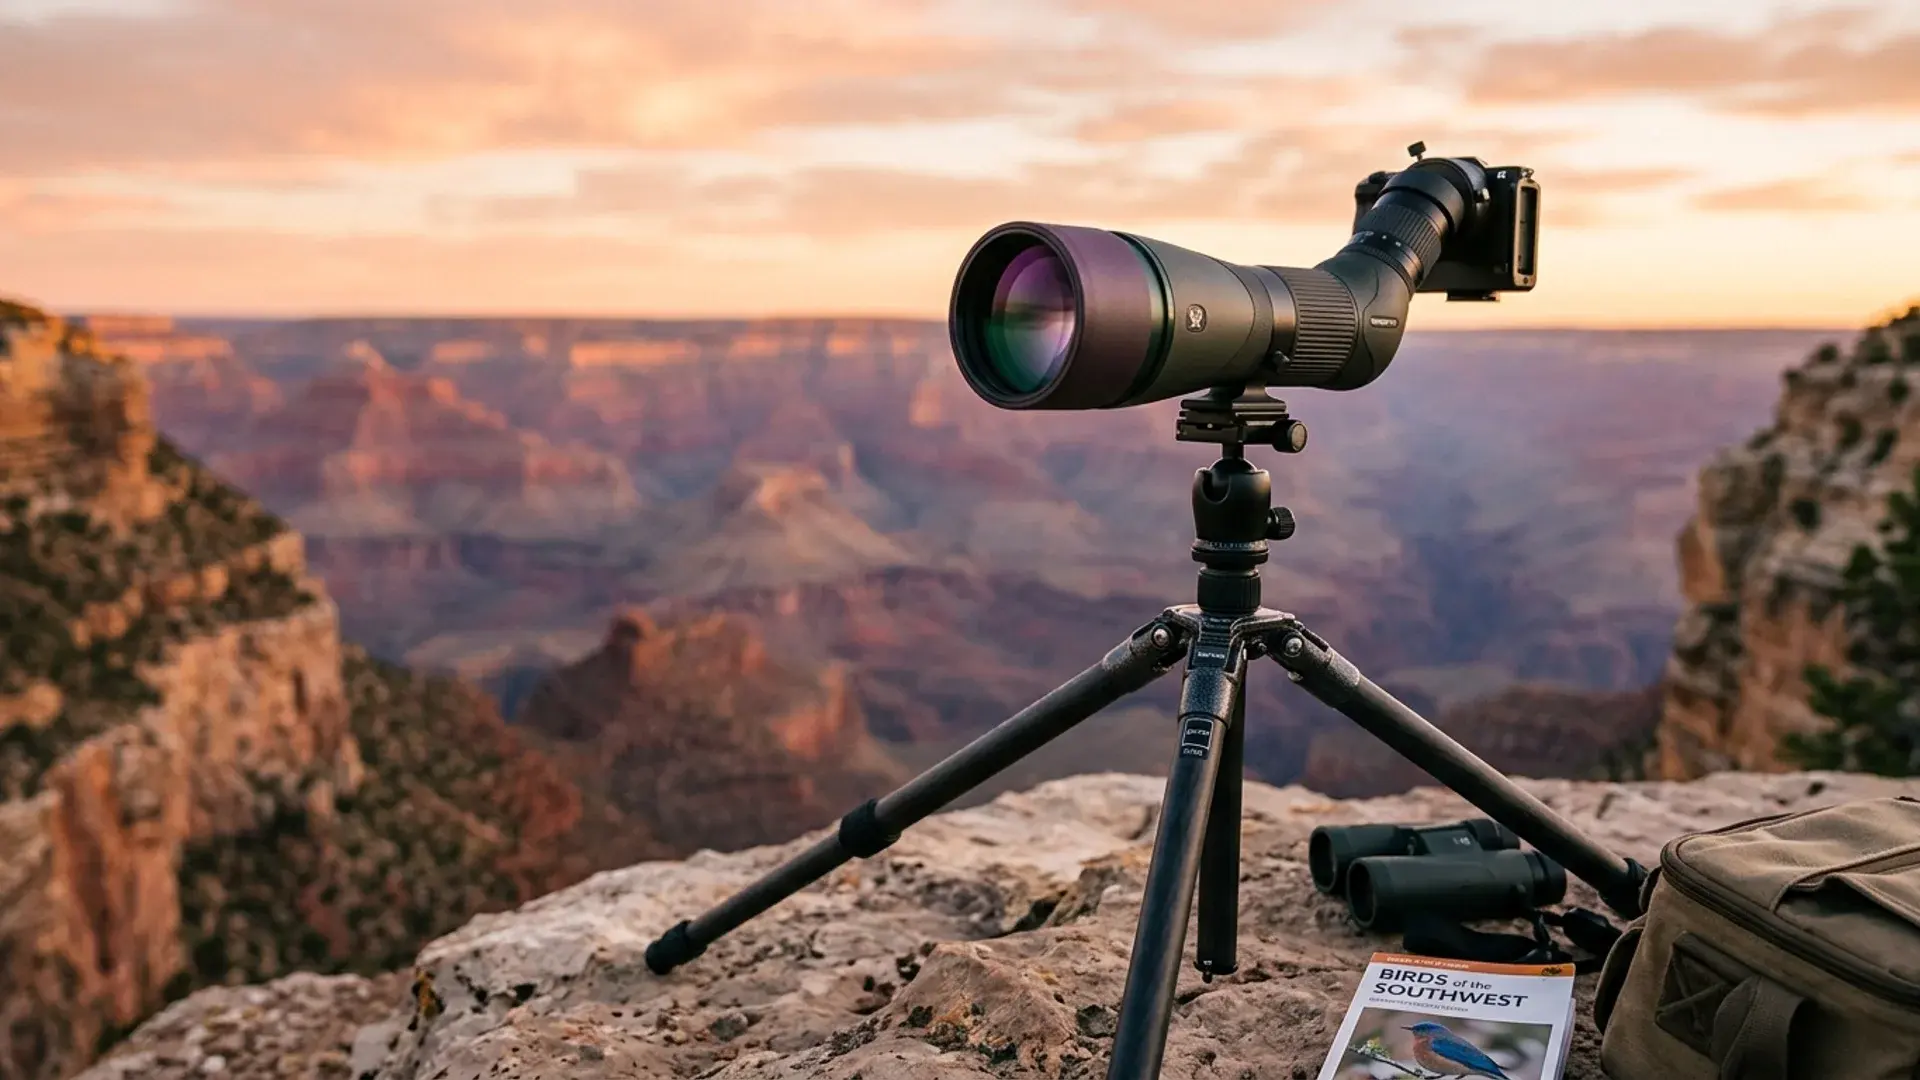
The cover is an AI-generated editorial illustration, not a product photograph or assembly diagram.