
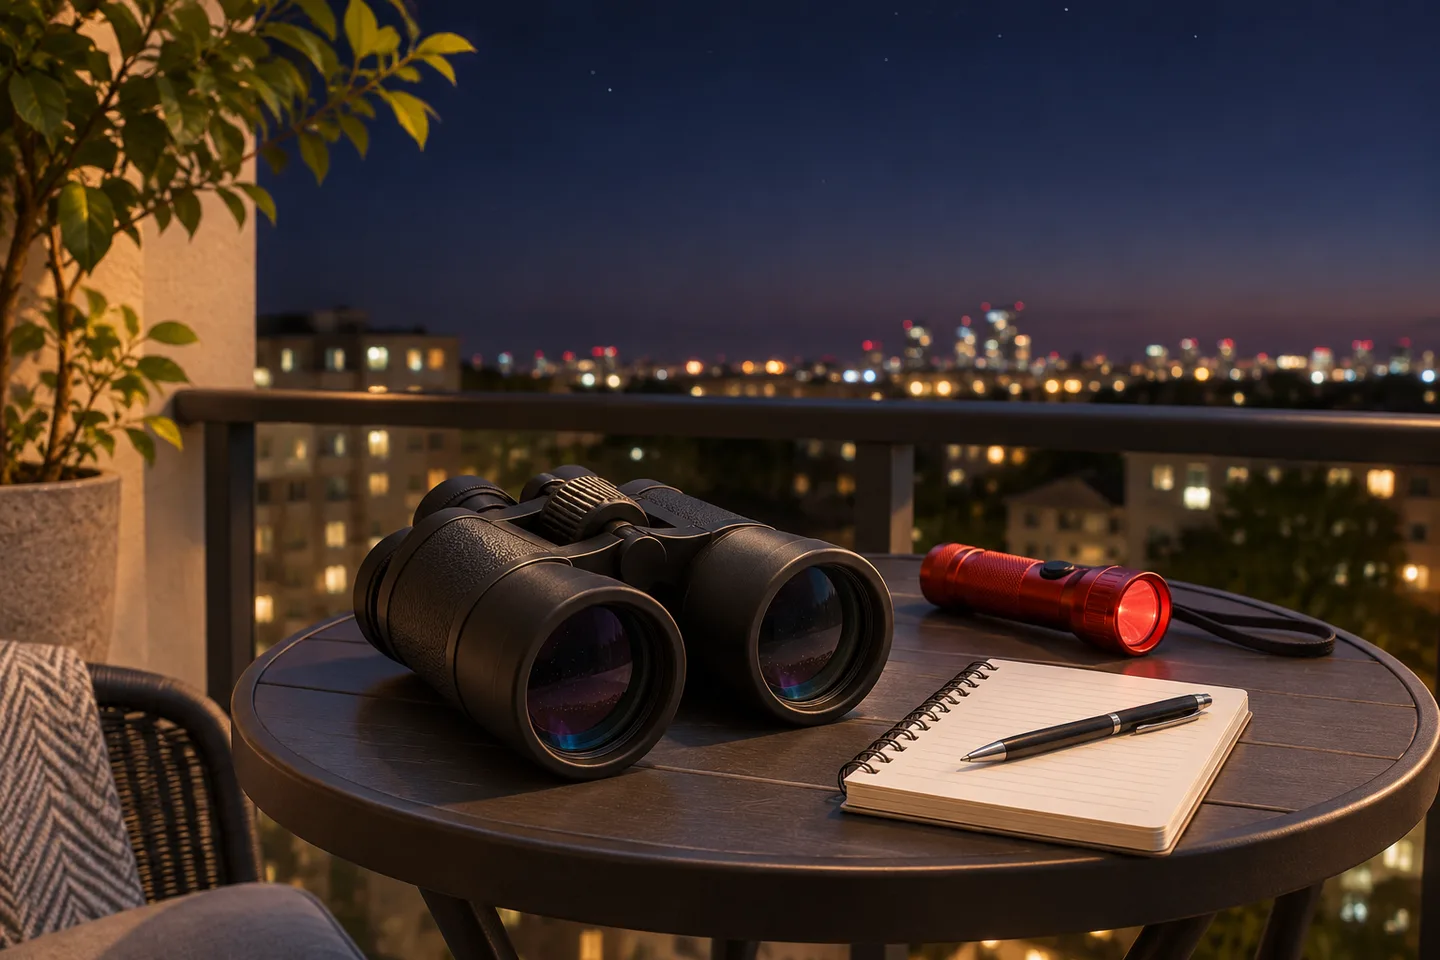
The Moon is an inviting subject for binocular observation. It is easy to find with the unaided eye and changes appearance through its phases. A comfortable view does not require a long equipment list, but a little planning can help you focus on the surface rather than on an awkward observing position.
This guide focuses on a short lunar session: choosing a safe time and place, setting up binoculars, and comparing the changing boundary between light and shadow. Your view will depend on the instrument, weather, lunar phase and local conditions.
Start with a safe observing time
Choose a time when the Moon is visible from your location and you can observe from a safe, stable place. Check a reliable local sky guide for its position and phase, and account for buildings, trees and other obstructions. A balcony can be useful if you can stay safely behind its railing and keep equipment away from the edge.
Never point binoculars at or near the Sun. Looking at the Sun through binoculars can cause immediate, permanent eye injury. Avoid daytime observing if there is any chance the Sun could enter the field, and never leave binoculars where someone might aim them at it.
Cloud, haze and local lighting will affect what you can see. If the sky is poor, postpone the session rather than forcing a view through a brief gap close to an unsafe direction.
Choose binoculars you can hold comfortably
You can begin with binoculars you already own. Adjust the hinge so the two circles merge into one comfortable view, then set focus and diopter according to the manufacturer's instructions. Eyeglass wearers should check the eyecup position and eye relief rather than pressing glasses hard against the lenses.
Celestron's guide to observing the Moon describes 7x or 8x binoculars as a portable starting point and notes that larger, higher-magnification models are more affected by vibration. That does not mean every binocular of the same magnification weighs or handles the same way. Choose an instrument you can support comfortably.
If you are comparing the first number on a binocular, our 8x versus 10x guide explains the trade-off between apparent size and steadiness. More magnification does not automatically make a handheld view easier to use.
Find a steady position
Sit in a stable chair if you can, and support your elbows against your body or another secure surface. Raise the binoculars to a target only after locating it with your unaided eyes. Brief pauses reduce strain and give you a chance to reset your grip.
A compatible tripod and adapter can help with heavier instruments. Check the binocular's attachment method and the tripod's load rating before mounting it; do not force an adapter into an unfamiliar opening. Set the legs on firm ground, secure each lock and keep the strap clear of anything that could pull the setup over.
Nikon's stargazing guide recommends finding a target unaided before bringing the binoculars up to your eyes. The same practical sequence helps prevent aimless searching around a bright object.
Look along the light-and-shadow boundary
Once the Moon is centered, take time to compare the brighter and darker areas. The boundary between the sunlit and dark portions is commonly called the terminator. Near this boundary, shadows can make some surface relief easier to distinguish than when the lighting is more direct.
The Moon's appearance changes as the phase changes, so a feature that is subtle on one evening may look different on another. Use a reliable lunar map to identify broad dark regions and larger features, but be cautious about naming a small crater from an uncertain view. Seeing individual details depends on magnification, steadiness and conditions.
Celestron's lunar guide discusses a range of features and the phases at which some are easier to observe. Treat its examples as ideas for planning, not a promise that every feature will be visible with every pair of binoculars.
Focus carefully and record what you notice
Start with the general outline of the Moon, then adjust the center focus slowly. If your binoculars have a diopter adjustment, set it as the manufacturer directs before fine-tuning. Avoid repeatedly changing several controls at once: make one adjustment, pause, and see whether it helps.
Write down the date, approximate time, location, binocular specification and conditions. A simple sketch of the illuminated shape or prominent dark areas can be more useful than trying to record every detail. On a later evening, compare the position of the light-and-shadow boundary and your own viewing comfort.
Do not expect a handheld binocular image to resemble a long-exposure photograph. Images used in astronomy articles may have been enlarged or processed and can show much finer detail than a casual visual view.
Finish and store the equipment
Keep lens caps and the case nearby without placing them where someone can trip. If the binoculars become damp, follow the maker's care instructions and allow the exterior to dry before enclosed storage. Do not rub condensation or grit across a lens. Our binocular cleaning guide covers gentle first steps.
A short, steady session can be rewarding without becoming a race to identify every feature. Pick a safe time, use comfortable support and revisit the Moon at a different phase to see how the lighting changes.
Cover: AI-generated editorial illustration of generic binoculars prepared for evening observation.