
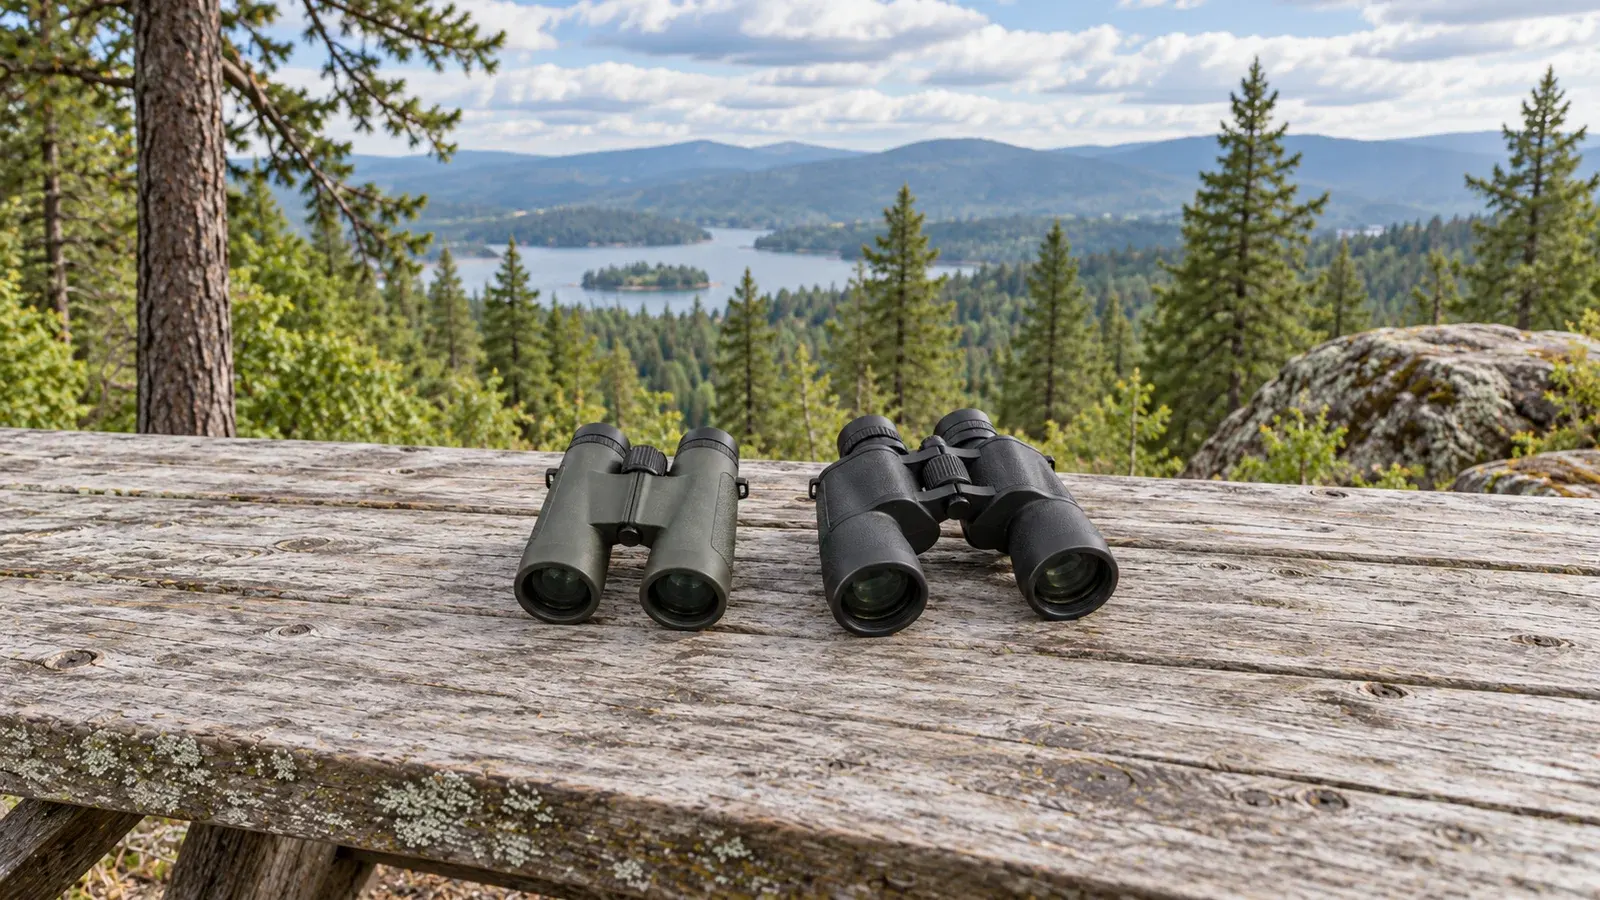
Two binoculars can share the same magnification and lens diameter yet have very different shapes. One has narrow, straight barrels; the other has a wider, stepped body. The terms roof prism and Porro prism binoculars explain that difference, but they do not tell you everything about how either instrument will suit an outing.
Use the prism layout as one part of your shortlist. This guide explains the visible distinction and gives you a practical comparison routine for walks, birdwatching, and observation from a fixed viewpoint.
What the prisms do
Prisms correct the inverted image formed by the objective lenses and fold the light path into a more manageable housing. Nikon's guide to binocular prisms identifies roof and Porro as the two main layouts.
In a conventional Porro design, the light path changes direction through an offset arrangement. This accounts for the broader body that many people associate with traditional binoculars. A roof-prism arrangement permits a slimmer body with straighter-looking barrels. These are useful clues when reading listings, although the exact instrument's specification remains the deciding reference.
Do not confuse prism type with focusing system or magnification. A photograph of the housing cannot replace the technical-data page.
Start with how you will carry them
Describe an ordinary outing before comparing products. Will the binoculars spend most of the day in a small bag, hang from a strap during a walk, or sit beside you at a sheltered observation point?
For a compact carrying arrangement, put a slim roof model on your comparison list. Check its actual dimensions against the space you have, including its case. For a fixed viewing position, compare a Porro model too, especially if the broader grip feels comfortable in your hands. Neither suggestion requires ruling out the other layout.
Make a simple carrying check: lift the instrument, reach the controls, put it away, and retrieve it again. Try this with the bag or strap arrangement you normally use. A pair that looks convenient in a photograph may be awkward in your particular setup.
Compare models on equal terms
Start with candidates sharing the same magnification and objective diameter where practical. Otherwise, differences in apparent image size or lens size can distract you from the layout comparison.
Create a short worksheet with these fields:
- Exact model and prism type.
- Magnification and objective diameter.
- Listed weight and dimensions.
- Field of view, expressed in the same units.
- Eye relief and nearest focusing distance.
- Manufacturer's weather-protection description.
Nikon's specification checklist covers these viewing considerations. Treat an omitted specification as a question to resolve, rather than an invitation to estimate it from another model.
If you are still deciding magnification, use our separate 8x versus 10x guide. Keep that decision distinct from choosing a prism layout.
Understand coating descriptions
Roof-prism listings may mention phase correction and reflective prism coatings. These terms describe particular parts of the optical design; they are not interchangeable with a general statement that the lenses are coated.
Nikon explains phase-correction coatings as a way of reducing the resolution loss associated with phase shifts at a roof surface. It also explains that overall brightness depends on the complete optical system, including lenses and coatings.
For a buyer, the practical step is to record the exact wording used for each candidate. Avoid turning one coating term into a promise that a model will outperform every alternative. If a description is unclear, ask which surfaces and coating types the manufacturer specifies.
Check fit before judging the view
When comparing instruments in person, use the same stationary subject and take time to set up each pair. Adjust spacing and focus according to its instructions. Follow our focus and diopter guide for the common central-focus arrangement, while checking the manual for exceptions.
Then note specific observations: whether the focus wheel is easy to reach, whether the grip feels secure, and whether you can see the complete view comfortably. For spectacles, consult our eye-relief and fit guide.
Keep your notes descriptive. A brief shop comparison is a personal handling check, not a controlled optical test or proof of universal superiority.
Read weather protection separately
Do not assume a slim body is waterproof, or that a broad body is unsuitable for outdoor use. Look for the exact manufacturer's statement and care instructions for the model under consideration. Record what is actually specified, including any limitations, rather than filling gaps with assumptions about the prism design.
For a planned trip, make a second checklist for carrying protection and storage. Keep the instrument's manual with your equipment notes so it is easy to check how to handle moisture or cleaning afterward.
Browse our binocular collection, shortlist two or three exact models, and contact our team if a specification needs clarification.
Frequently asked questions
Is a roof-prism binocular always the better choice?
No. Its slim layout can suit a compact carrying setup, but fit and the complete specifications still matter. Compare exact models against your own outing requirements.
Can I identify prism type from the body shape alone?
Body shape gives a useful initial clue. Confirm the type in the manufacturer's specification, especially when a design looks unusual.
Does prism type determine magnification?
No. Read magnification separately. Both prism layouts are used in binoculars with different magnifications and lens sizes.
Are the binoculars in the cover actual store products?
No. The cover is an original AI-generated editorial illustration of generic body layouts, not a product photograph or a depiction of a named model.